
This is the second of my travel accessories, after the eye mask I made last month. I had plenty of the nautical-style fabric left and I decided to put it to good use making a passport holder. I was unsure how best to make this, I didn’t want anything that made the passport big and bulky to carry around, so I add cardboard to make it stiff and I didn’t make it significantly bigger than my passport. But I did think that some way of holding the passport open at the photo page would be a bonus. There is nothing worse than grappling with luggage and tickets and trying to find the right page at border control. For this reason I decided to add two elastic straps into the design for this very purpose.
You will need:
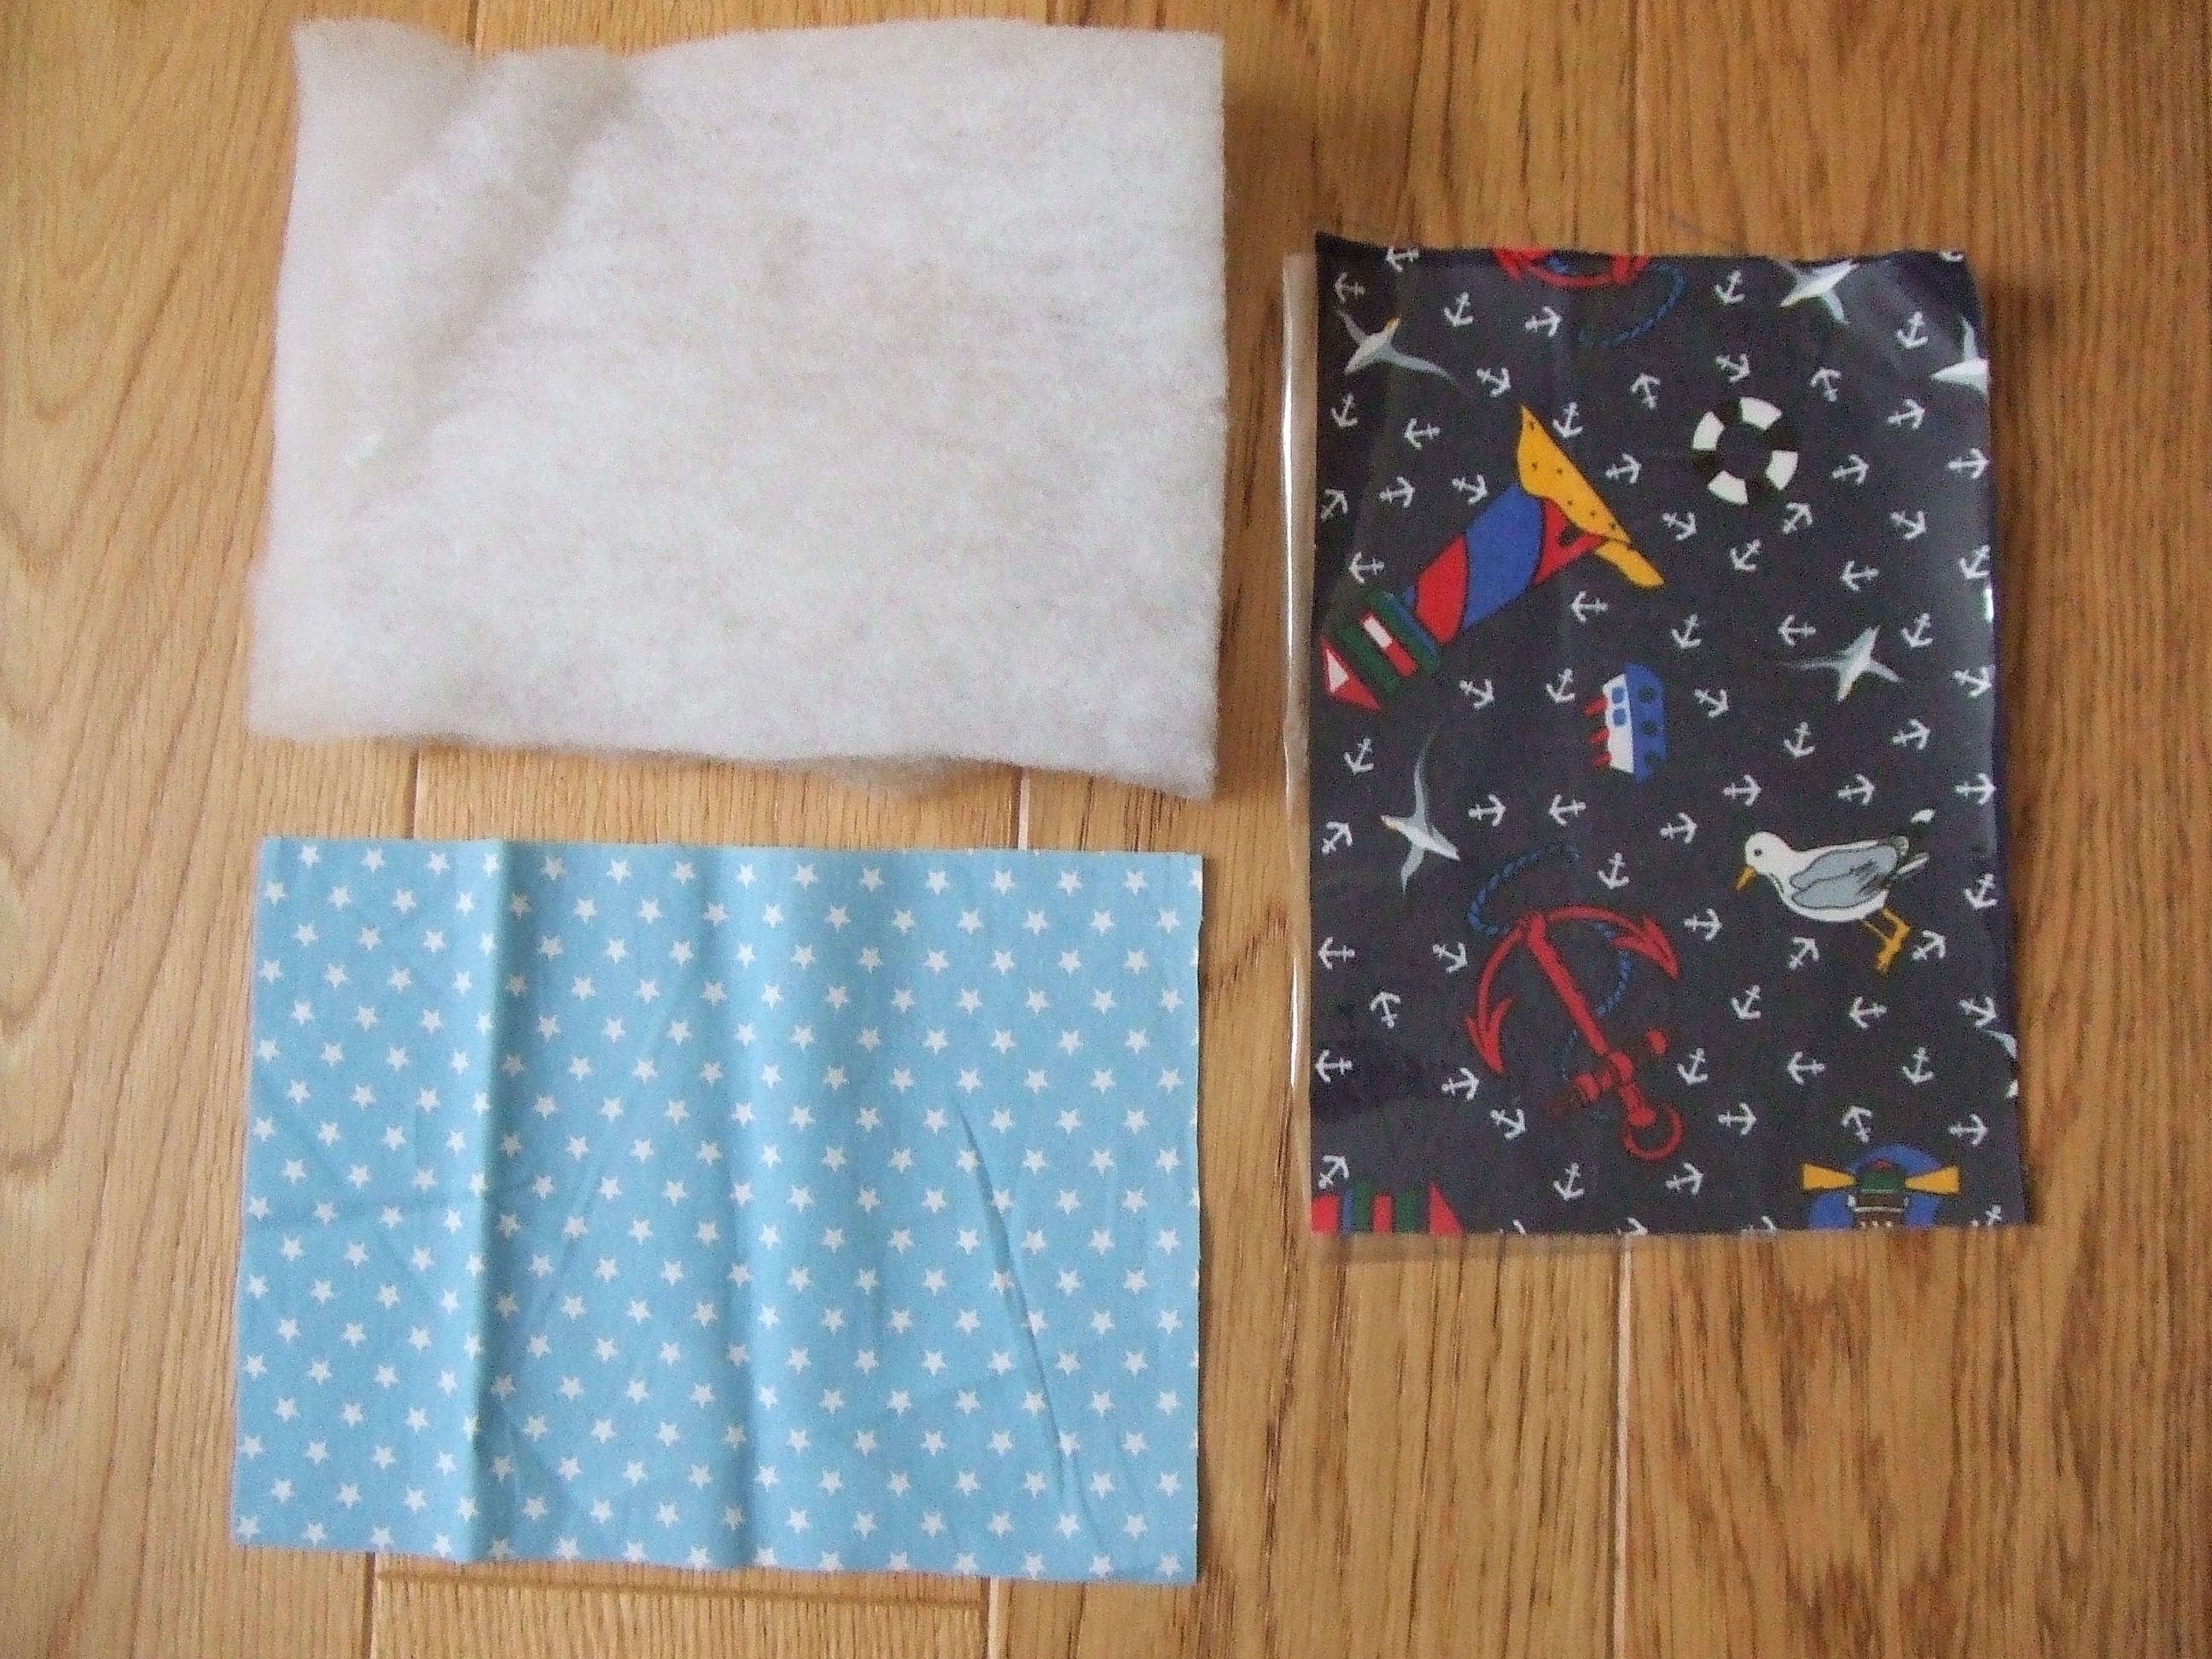
Wadding
Scissors
Fabric for the outside (I used my nautical-style fabric)
Fabric for the inside (I used some pale blue fabric with stars on it)
Measuring tape
Elastic (6 mm width, approximately 30 cm)
1. Measure the height of the passport. Mine measured 12.5 cm. Measure the around the passport from one edge of the cover across the spine, to the other edge of the cover. Mine measured 18.0 cm. Add 2.5 cm to both the height and the width measurement.
2. For my European passport, I therefore had a height measurement including seam allowance of 15.0 cm and a width measurement of 21.0 cm.
3. Cut one piece of fabric for the outside and one for the inside according to the size calculated in the first two steps. Therefore I cut rectangles 15 x 21 cms.
4. Cut a piece of wadding the same size as the two rectangles.
5. Cut a piece of fabric measuring 32 cm by 8 cm. This will be used to make the corners on the inside of the passport holder. You may need to adjust the size of these corners for your passport.
6. Fold this piece of fabric in half along its length and press. Top-stitch down the length of of the folded fabric.
7. Cut the top-stitched fabric above into quarters to make the four corners.
8. Next assemble the inside of the passport holder. Place the corners on the inside fabric rectangle and then place the elastic. I made sure that the elastic was tensioned slightly. Next, tack all the pieces in place. I thought assembling all the layers in one go might be a little tricky. Pay special attention to lining up the corner pieces so that they are aligned horizontally and vertically. Make sure the elastic runs vertically from the top to the bottom of the holder. Trim the corner pieces.

9. Next, assemble all the pieces. Place the pieces in the following order:
- Wadding
- Outside fabric face up
- Inside fabric (with corner pieces and elastic attached) face down
10. Pin, then tack in place. Stitch together leaving a small opening, in order to be able to turn the passport holder the right way out.
11. After stitching, trim the seam allowance, then turn the passport holder the right way out and press gently on a low heat.
12. Stitch up the opening. Insert your passport into the holder. All you need now is a holiday!


